


Vim was written by very smart people and was one of the first of its kind but the people who wrote it then only thought of the need of the developers of those times but now we are using many tools for programming and for that specific purpose we need to have a very extensible editor which we would be able to extend if needed.
so now another group of smart people came around and then introduced another editor because if you have worked with vscode then you would know that we need to have to be able to make it use tools needed for specific tools. It has a very good plugin system.
Now what is neovim ?
highly extensible
plugin driven
vim fork
Now the terminal would have vim already installed but we have to specifically install neovim in the terminal. So the major difference is that vim is the basic editor and neovim is the fork of this basic editor which is highly extensible, plugin driven and is a vim fork.
now go to the neovim github and it would look like this

now go to the file INSTALL.md to go for the specific OS of your needs.
if you don't want to search for neovim and then go to it then just visit this url here : https://github.com/neovim/neovim/blob/master/INSTALL.md
and then search for your neovim OS support.
Now as I am a avid Ubuntu user so I will focus on only the Ubuntu specific installation
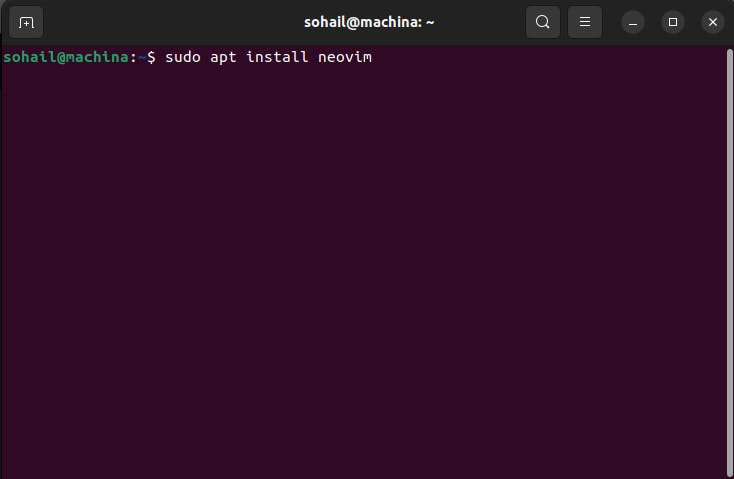
type this command in your terminal
sudo apt install neovim
now after typing this , you will need to enter your password and then press y when this comes

and then our installation is completed

Now type in this command
nvim

we enter into neovim, but we told ourselves that it would look pretty but why is it still like this? so to answer this question , we said that it was plugin driven but we haven't yet added any plugins so now we need to add plugins to make it pretty for ourselves.
Now the beginner plugin I am going to use is 'Lazyvim'
so to use the lazyvim with nvim we need to see the requirements for this, so refer to this website and get the latest requirements : https://www.lazyvim.org/
so when I am installing neovim the requirements are as neovim >= 0.9.0, so checking this now using this command and it also needs to build by LuaJIT.
nvim --version
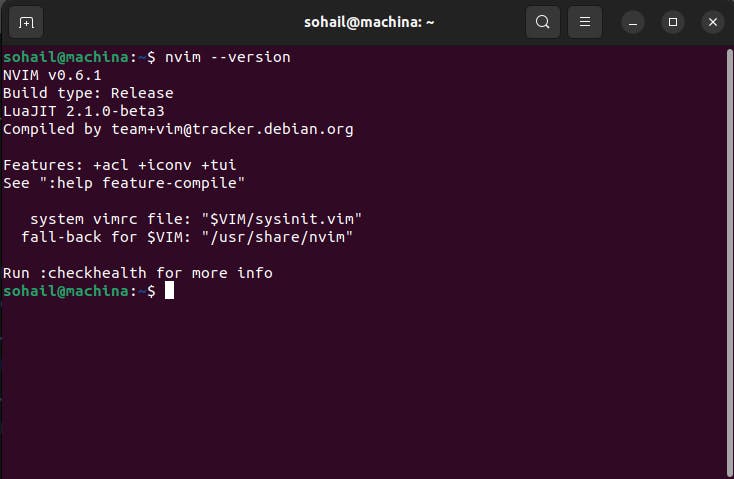
after seeing this we can safely assume our first requirement fullfiled
now the second requirement is to have git installed and it should be this Git >= 2.19.0
now use this command to check this version of git
git --version
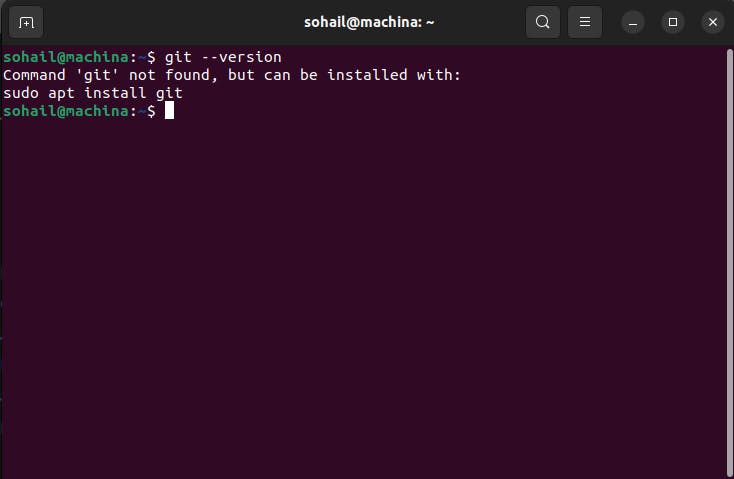
so as I don't have git installed in my machine so I would install it using the given command.
sudo apt install git
now we get this question just type in y

and now we have succesfully installed git

now checking the git version here

so the version we want is satisfied. After this we need to install a c compiler so for Ubuntu we need to check if we have gcc or not, so for that we need to have this command
gcc --version
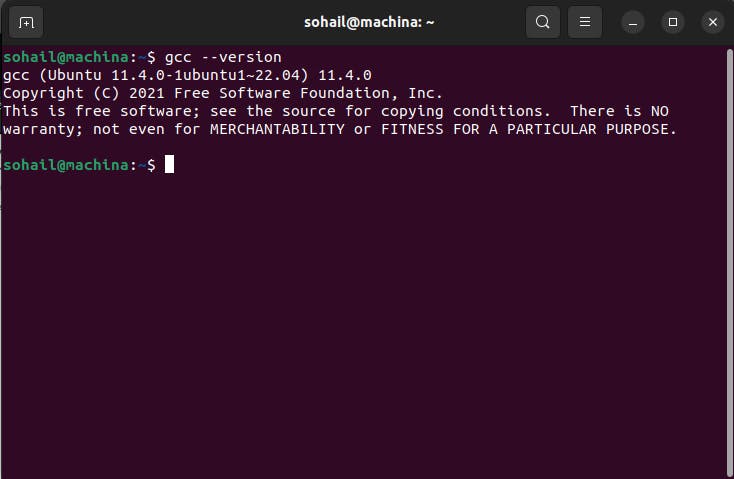
I have already installed gcc on my system but if you want to , you can just type in the command and tada you will have gcc in your system
sudo apt install gcc
Now we need to install ripgrep so for your own OS support look at this page and you will find it here : https://github.com/BurntSushi/ripgrep
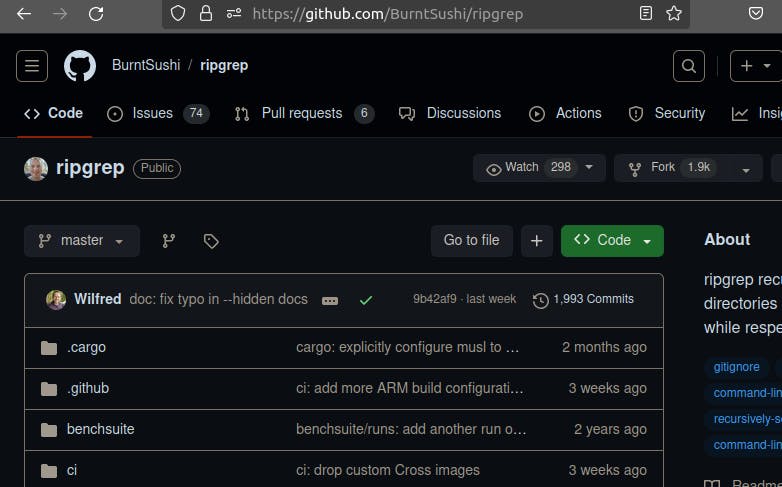
for Ubuntu it is
sudo apt-get install ripgrep
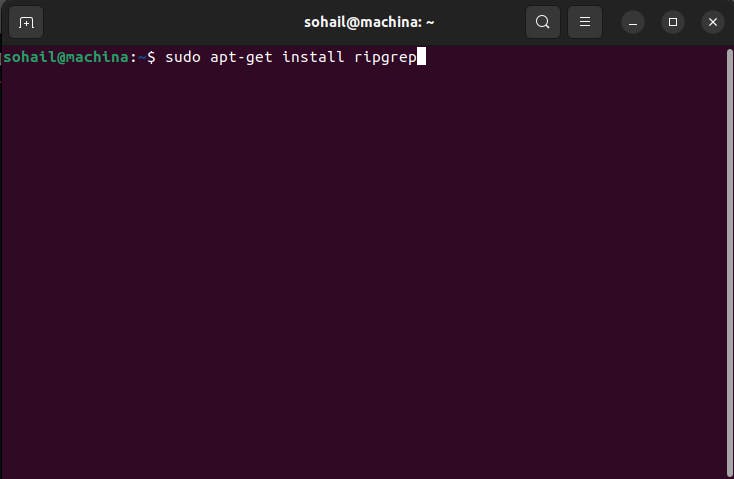
and we have installed ripgrep but as you can see below I don't know how to check the version of the installed package.

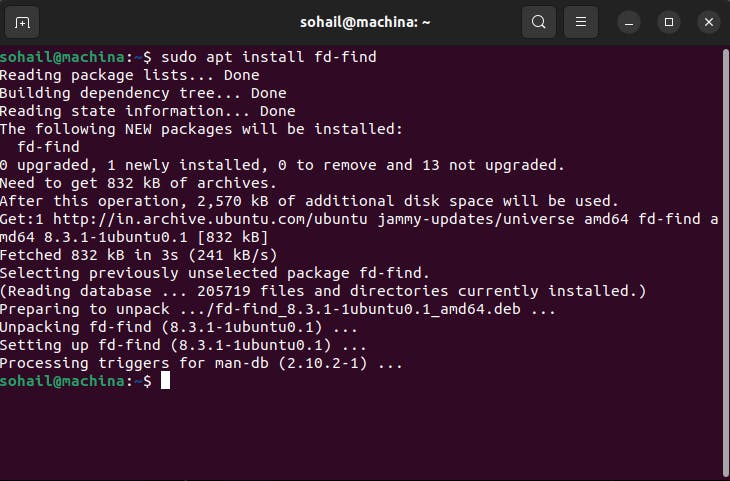
Now we need to install fd in our system to have a search bar in our neovim. So for that go to this page and see your OS support and install it : https://github.com/sharkdp/fd

Now to install it we need to get this command up and running in our terminal
sudo apt install fd-find

and we have our fd installed
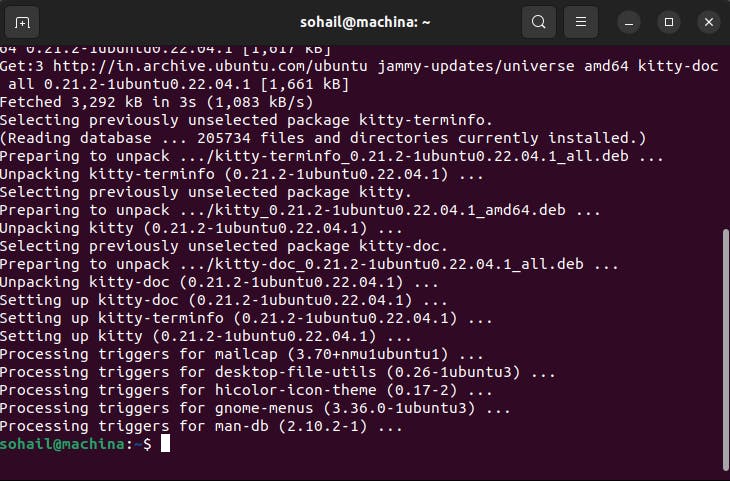
and now we need to install a terminal with color support so our choices are kitty, wezterm and alacritty. As kitty is more customisable I am going to go with kitty for my installation.
sudo apt install kitty

and my installation is also complete
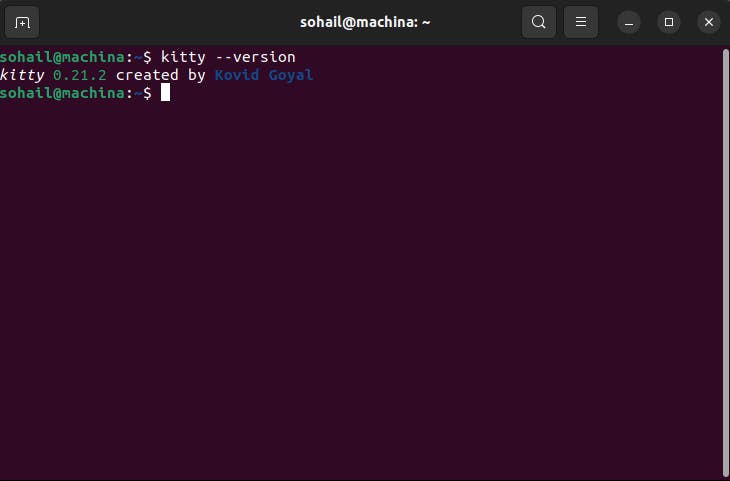
and for the version specification this is the version that I am using
kitty --version
Now the next step is actually installing lazyvim
go to this page and follow through the steps and as I am beginner I can just skip through the first step as it is a fresh install ( https://www.lazyvim.org/installation )
now after crying for 2 mins and being tortured for 30 mins I am proud to say that I have finally installed lazyvim and now getting ready to get into action so now you also have to go through with that 32 mins phase although I don't know how much longer yours will be so best of luck.
after I have installed all of it just open kitty and then type in nvim and you would see something like this

Now go debug your own stuff to make it work and the best thing to do is to google and ask GPT for answer , that is our struggle.